启程网络(新简约软件开发工作室)
 hbqcwl@sina.cn
hbqcwl@sina.cn
hbqcwl@sina.cn
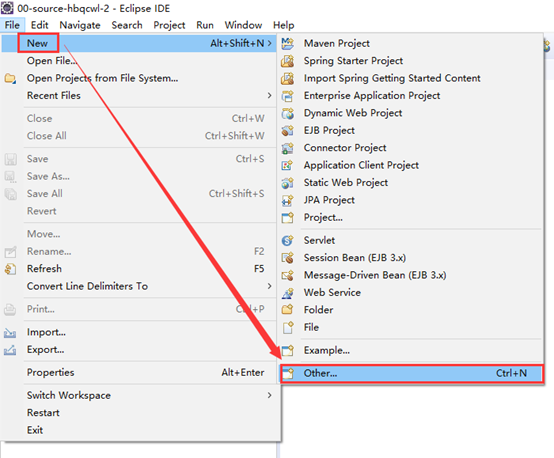
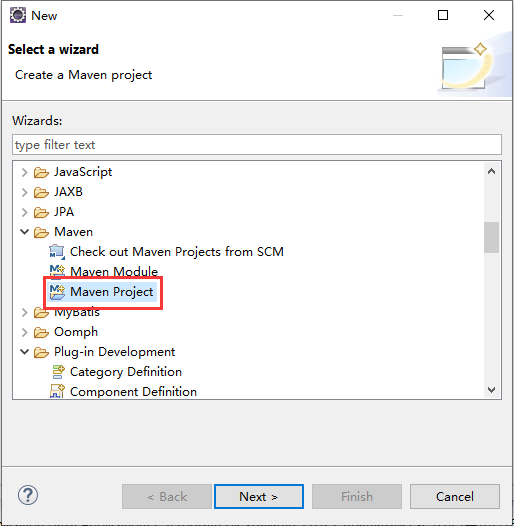
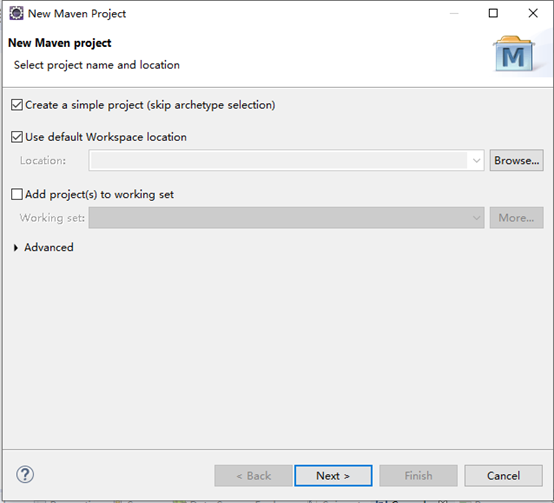
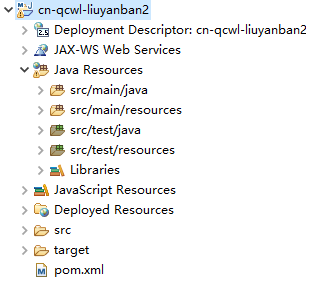
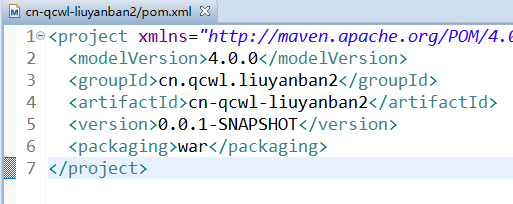
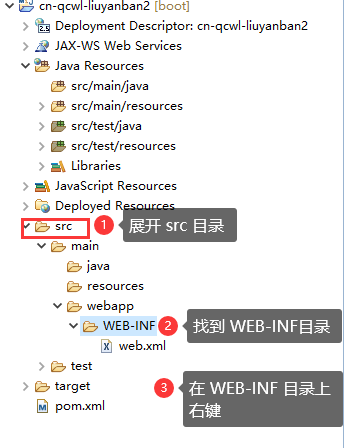
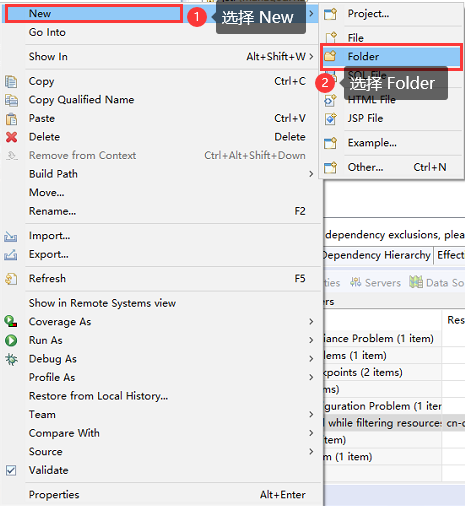
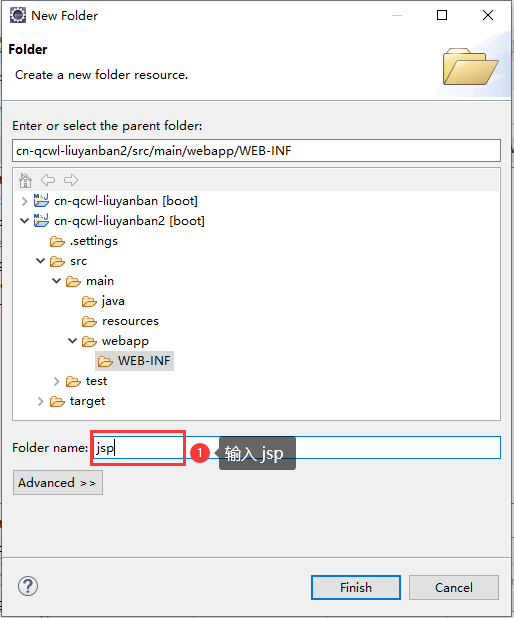
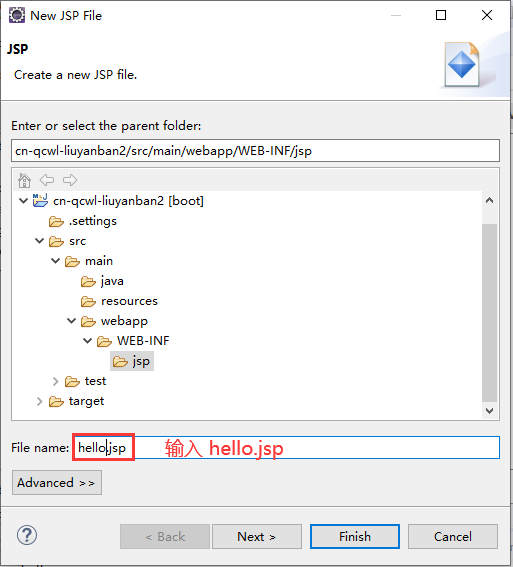
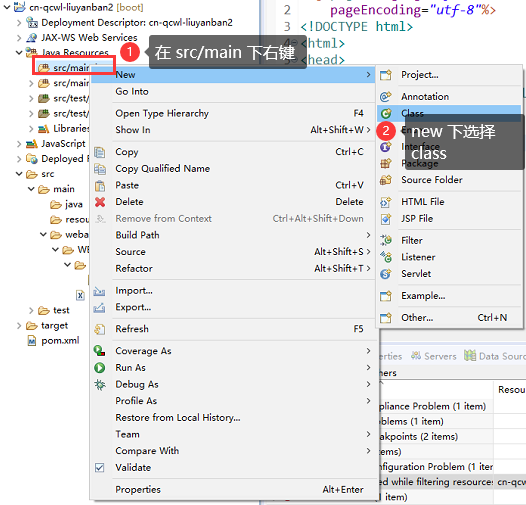
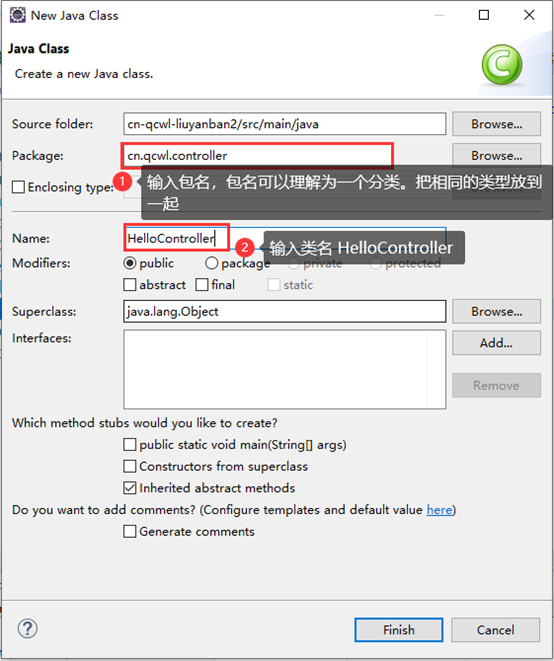
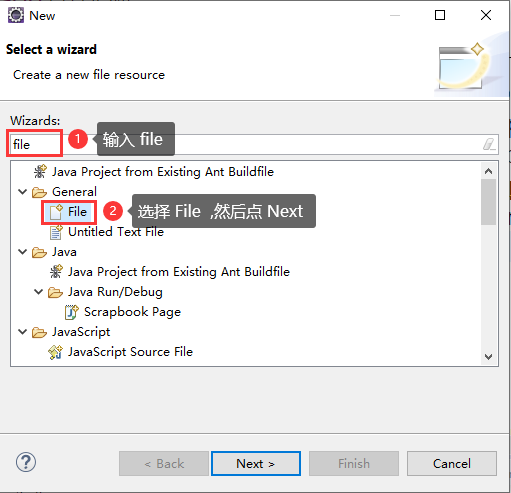
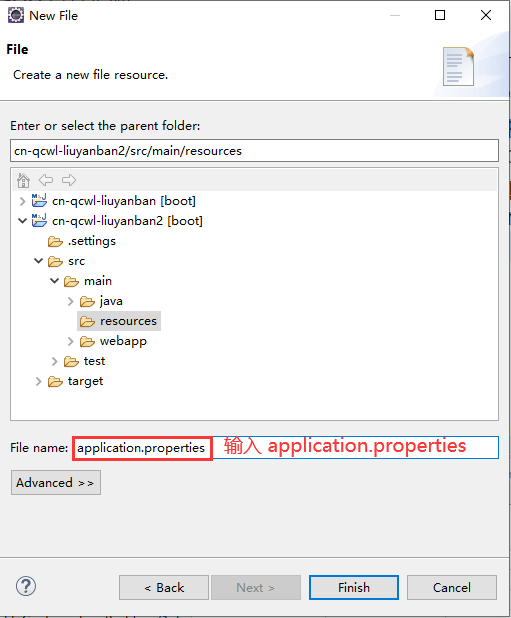
正式开始编码工作,按要求一步一步来创建一个新的项目


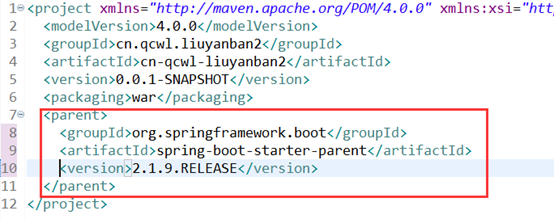
  <parent>
	<groupId>org.springframework.boot</groupId>
	<artifactId>spring-boot-starter-parent</artifactId>
	<version>2.1.9.RELEASE</version>
  </parent>
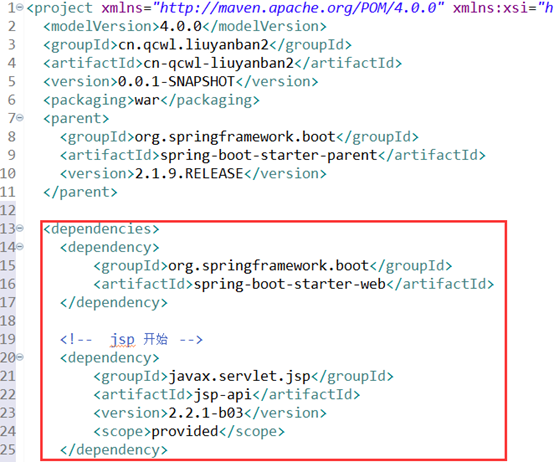
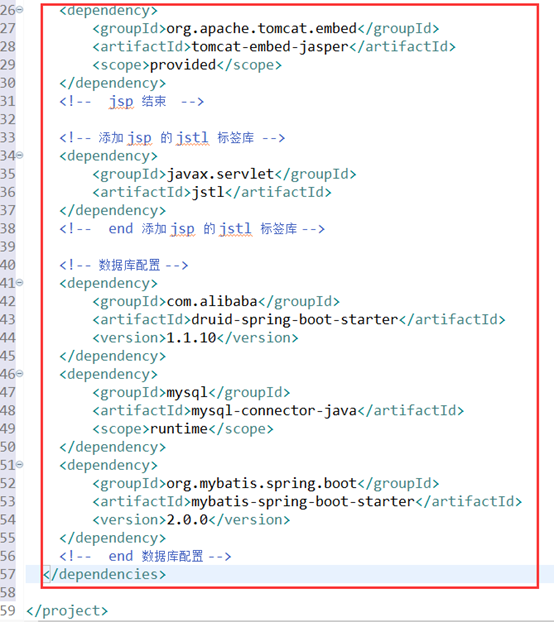
  <dependencies>
  	<dependency>
	    <groupId>org.springframework.boot</groupId>
	    <artifactId>spring-boot-starter-web</artifactId>
	</dependency>

	<!--  jsp 开始   -->
	<dependency>
	    <groupId>javax.servlet.jsp</groupId>
	    <artifactId>jsp-api</artifactId>
	    <version>2.2.1-b03</version>
	    <scope>provided</scope>
	</dependency>
	<dependency>
		<groupId>org.apache.tomcat.embed</groupId>
		<artifactId>tomcat-embed-jasper</artifactId>
		<scope>provided</scope>
	</dependency>
	<!--  jsp 结束    -->

	<!--  添加 jsp 的 jstl 标签库  -->
	<dependency>
	    <groupId>javax.servlet</groupId>
	    <artifactId>jstl</artifactId>
	</dependency>
	<!--  end 添加 jsp 的 jstl 标签库 -->

	<!--  数据库配置 -->
	<dependency>
	    <groupId>com.alibaba</groupId>
	    <artifactId>druid-spring-boot-starter</artifactId>
	    <version>1.1.10</version>
	</dependency>
	<dependency>
	    <groupId>mysql</groupId>
	    <artifactId>mysql-connector-java</artifactId>
	    <scope>runtime</scope>
	</dependency>
	<dependency>
	    <groupId>org.mybatis.spring.boot</groupId>
	    <artifactId>mybatis-spring-boot-starter</artifactId>
	    <version>2.0.0</version>
	</dependency>
	<!--  end 数据库配置 -->
  </dependencies>
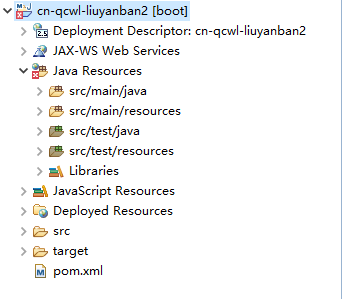
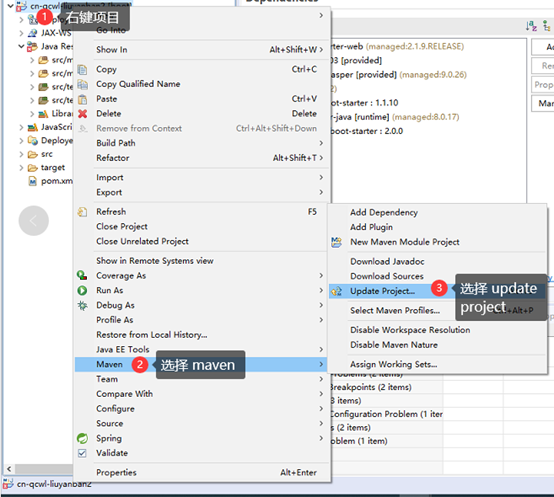
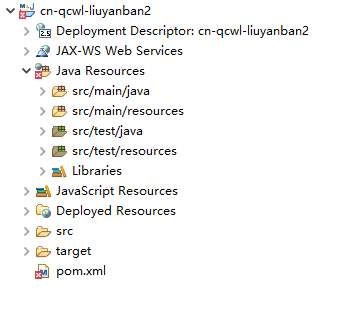
更新后,错误消失,如下图所示:
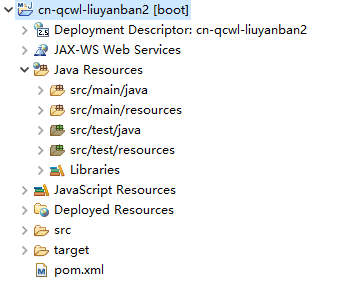
特别说明:项目中有时提示的 可以不用理会,只要项目能正常运行就可以

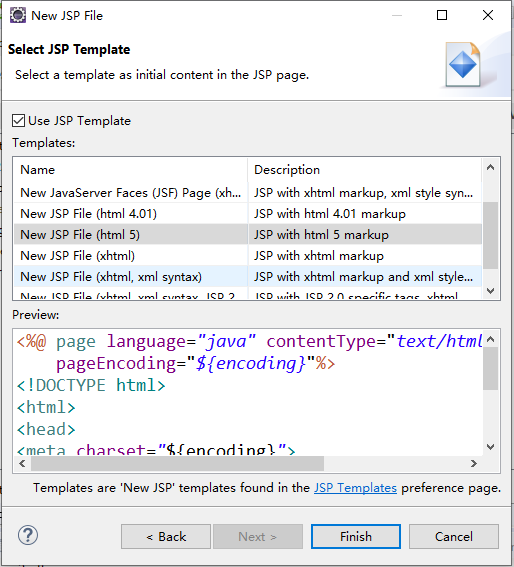
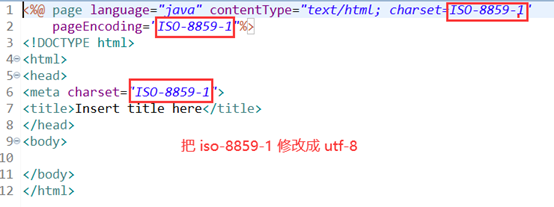
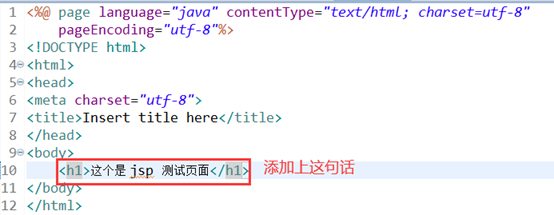
<%@ page language="java" contentType="text/html; charset=utf-8"
pageEncoding="utf-8"%>
<!DOCTYPE html>
<html>
<head>
<meta charset="utf-8">
<title>Insert title here</title>
</head>
<body>
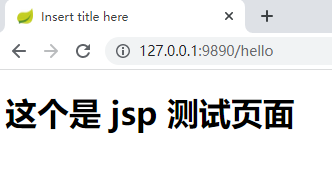
<h1>这个是 jsp 测试页面</h1>
</body>
</html>
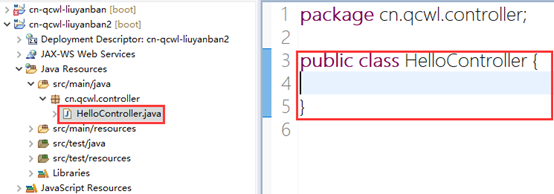
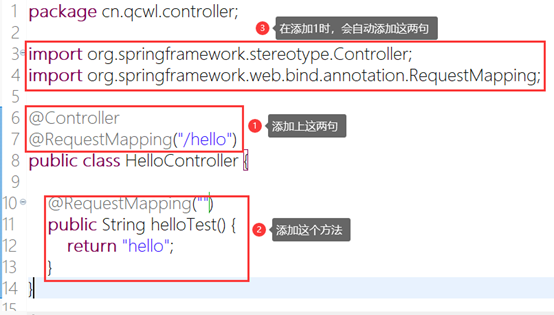
package cn.qcwl.controller;

import org.springframework.stereotype.Controller;
import org.springframework.web.bind.annotation.RequestMapping;

@Controller
@RequestMapping("/hello")
public class HelloController {

	@RequestMapping("")
	public String helloTest() {
		return "hello";
	}
}
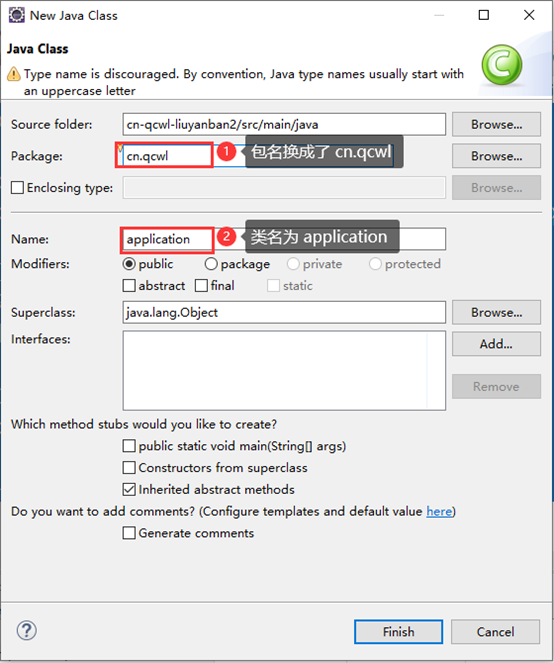

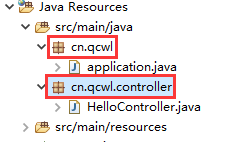
package cn.qcwl;
import org.springframework.boot.SpringApplication;
import org.springframework.boot.autoconfigure.SpringBootApplication;
import org.springframework.boot.builder.SpringApplicationBuilder;
import org.springframework.boot.web.servlet.support.SpringBootServletInitializer;
import org.springframework.context.ConfigurableApplicationContext;
import org.springframework.context.annotation.ComponentScan;
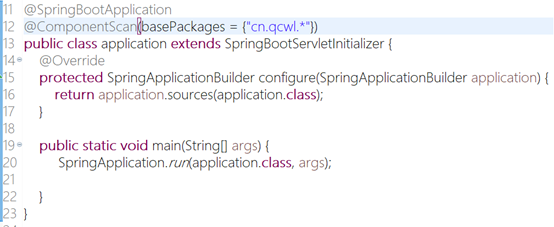
@SpringBootApplication
@ComponentScan(basePackages = {"cn.qcwl.*"})
public class application extends SpringBootServletInitializer {
@Override
protected SpringApplicationBuilder configure(SpringApplicationBuilder application) {
return application.sources(application.class);
}
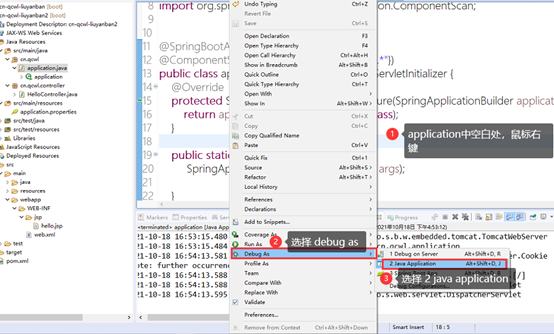
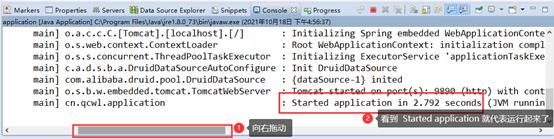
public static void main(String[] args) {
SpringApplication.run(application.class, args);
}
}
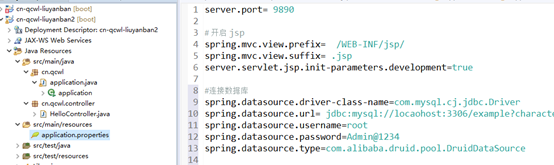
server.port= 9890

# 开启 jsp
spring.mvc.view.prefix=  /WEB-INF/jsp/
spring.mvc.view.suffix= .jsp
server.servlet.jsp.init-parameters.development=true

#连接数据库
spring.datasource.driver-class-name=com.mysql.cj.jdbc.Driver
spring.datasource.url= jdbc:mysql://localhost:3306/example?characterEncoding=utf-8&autoReconnect=true&allowMultiQueries=true&serverTimezone=Asia/Shanghai
spring.datasource.username=root
spring.datasource.password=Admin@1234
spring.datasource.type=com.alibaba.druid.pool.DruidDataSource